When an athlete advances to the next odd-numbered kyu, it is time to sew a stripe onto the belt. How is it done, and what do you need? What are the standards for attaching a stripe to the belt in Kyokushin karate? Let’s go through the answers to these questions.Every colored belt in Kyokushin karate covers two qualification levels – kyu. The higher level (always an odd number – 9th kyu, 7th kyu, 5th kyu, 3rd kyu, 1st kyu) is distinguished by a sewn-on stripe. The color of the stripe matches the next belt up.
When an athlete advances to the next odd-numbered kyu, it is time to sew a stripe onto the belt. How is it done, and what will you need? What are the standards for attaching a stripe to the belt in Kyokushin karate? Let’s go through the answers below.
What you will need to sew a stripe onto a Kyokushin karate belt:
- The belt itself
- A piece of firm fabric in the color of your new stripe that will not bleed in the wash
- Thread in the color of your new stripe
- Scissors
- A ruler
- An iron
- A pin
- A needle (or ideally a sewing machine)
Standards for the stripe on a Kyokushin karate belt
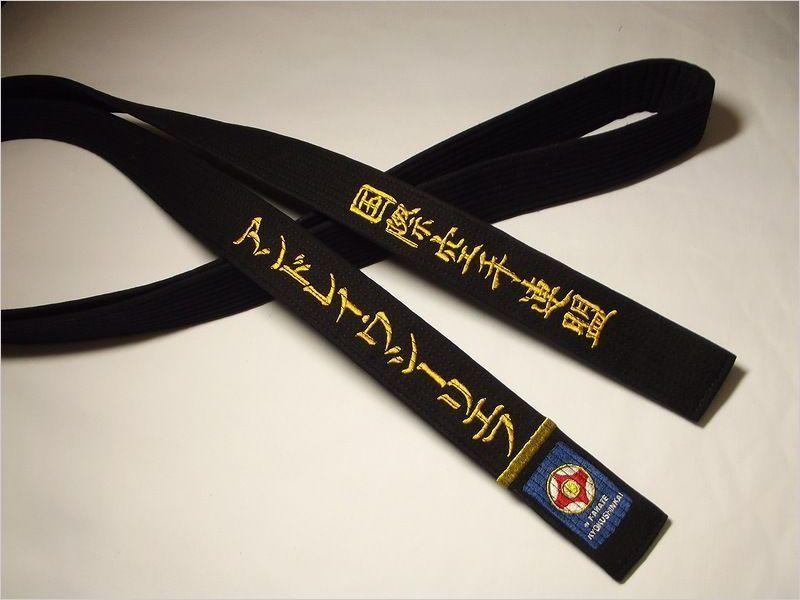
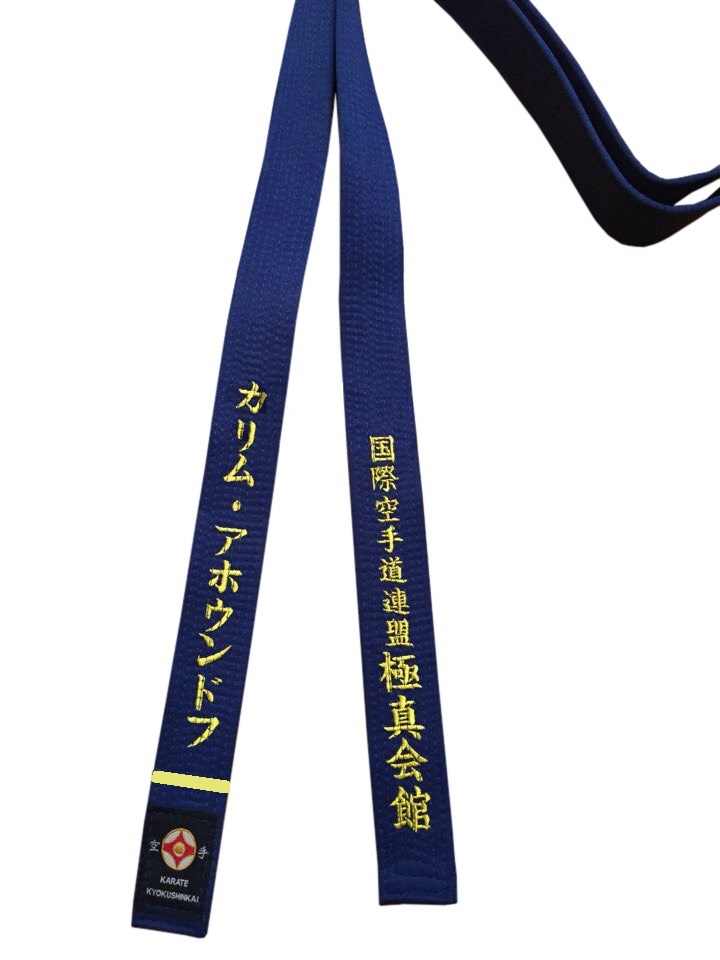
- The stripe is sewn at one end of the belt (if the belt has no embroidery, either end works; if the belt has the organization name and the owner’s name embroidered, the stripe goes on the side with the name and the organization’s emblem)
- The stripe is placed 5 cm from the end of the belt if there is no organization emblem present (if your belt does have an organization emblem, measure 1 cm up from the top edge of the emblem).
- The stripe width must not exceed 1 cm.
How to sew the stripe onto the belt
- The first step is to cut two strips from your fabric, 2 cm wide and approximately 11-12 cm long (depending on the width of your belt). This length should be enough to wrap around the full width of the belt with a small margin to spare.
2. Then fold both strips along their full length on both sides so that the finished width becomes 1 cm, and press the folds firmly with an iron.
3. Next, mark the belt itself. Measure 5 cm from the end of the belt and draw a straight pencil line across the full width on both sides. This line will serve as the boundary that the stripe must not cross.
4. Once you have placed your strip against the line, use a pin to secure it to the belt, then check the accuracy of your placement.
5. If everything looks good, sew the stripe onto the belt using a needle or a sewing machine.
The finished result should look something like this:

Закрепление полоски очень хорошо получается клеевым пистолетом. Вместо ниток и иголки. Проверено годами.